



Pressed Flower Lanterns: A Victorian-Inspired Glow for Your Mantel
There is something quietly magical about the way Victorian homes used to glow at dusk, with gas lamps and candlelight filtered through etched glass and dried botanicals. I've always been drawn to that soft, amber warmth, and this pressed flower lantern project is my way of bringing a little of it into my own living room. It sits on our mantel now, and every evening when I light the candle inside, the petals cast the gentlest shadows across the wall behind it. It feels like a small piece of another century, made with my own hands.
The best part is that you probably already have half of what you need. Pressed flowers can be gathered from your own garden or a neighborhood walk, and glass lanterns turn up at thrift stores constantly for just a few dollars. If you have never pressed flowers before, don't worry. It is one of the most forgiving crafts there is, and even a slightly imperfect petal looks lovely once it is glowing from behind.
What You Will Need
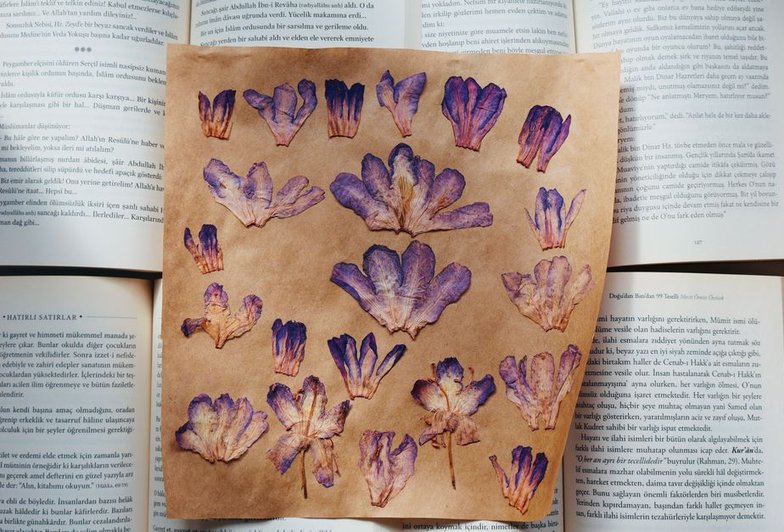
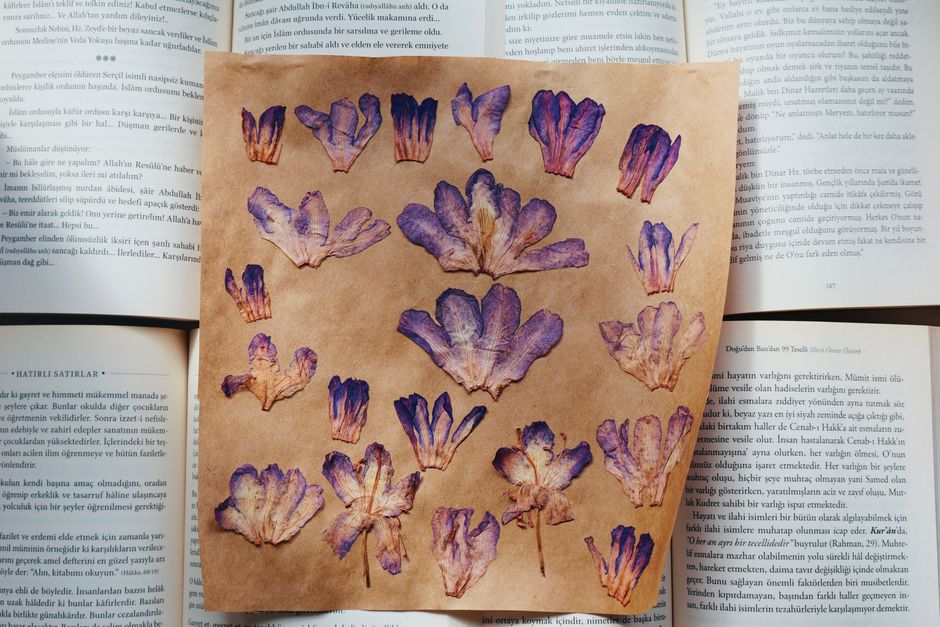
Start with a clean glass lantern with flat panes. Curved glass is charming but much harder to work with, so save it for a future project. You will also need pressed flowers and leaves, decoupage medium or a brush-on sealant, a small foam brush, tweezers, and a candle or battery-operated tea light. For the flowers themselves, pansies, ferns, queen anne's lace, and small rose petals all press beautifully. Pick them on a dry morning, sandwich them between sheets of parchment or blotting paper, and weigh them down under a heavy book for two to three weeks. I keep a stack of books pressing flowers all season long, rotating them out like little botanical time capsules.
Once your flowers are flat and papery, plan your design before you glue anything down. I like to lay the petals on the outside of the glass first, stepping back to check the arrangement from a distance. Asymmetry tends to look more natural than perfect symmetry, so let a fern frond trail toward one corner and cluster the blooms off-center.
Assembling and Sealing Your Lantern
Working one pane at a time, brush a thin layer of decoupage medium onto the glass, then use tweezers to place each flower. Press gently with your fingertip to smooth out air bubbles, and brush another thin coat over the top. Thin coats are the secret here. Globs of medium dry cloudy and dull the glow, which defeats the whole purpose. Let each pane dry completely before moving to the next one so you don't smudge your work.
Once everything is dry, seal the entire outside of the glass with one final coat. If your lantern will live near a window or in a humid room, this step matters even more. Place a candle inside, light it, and dim the lights. The first time you see those petals glowing, you will understand why I make these in batches every autumn. They also make the most heartfelt gifts, especially for a friend who loves old houses, gardens, or anything with a story behind it. Tuck a little handwritten note inside the lantern before wrapping it up, and you have a present that feels genuinely personal.

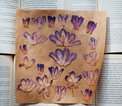
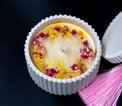
Turn a plain glass lantern into a glowing keepsake with pressed flowers, decoupage medium, and a little patience.
A thrifted tea cart is the most versatile piece in my home, and here is how I dress it up from spring through winter.
These little lace-trimmed sachets take an afternoon to make and keep drawers smelling like a French countryside cottage.
You do not need a whole room to build a cozy reading retreat, just a corner, a chair, and a few romantic touches.
Rolled beeswax candles are the simplest candle project there is, and they fill your home with a warm honey glow.